Showing posts with label DIY Project. Show all posts

Sunday, 23 December 2012

PXE Server Manual

On 1/12/2012, I completed my project called PXE Server.

To create the server on the windows platform, i mean not windows server 2003 and 2008. just normal windows like xp, vista, and 7, u need the following file. i list down the file easier to understand what the importance of PXE Server.

the file;


  • GRLDR <------- grubdos linux version to boot by TFTP Protocol
  • menu.lst <------- after system boot the GRLDR, the system will search command in this menu. 
  • Bootable File <---- i choose the hiren_boot 10 .iso file.

The operation:
Get grldr file system inside the Bootland.


Creating the menu.lst
this part is hard to understand if you are beginner in linux and memory allocation. so better to watch and learn the code that made by other people rather than dive into these codes without knowledge.

example
below is the basic menu to run iso file. pls remember that u cant map directly .iso files, the file needs virtual memory allocation in RAM. just like the hirenboot iso.

title Hiren
map --mem (pd)/hirens.iso (0xff)
map --hook
root (0xff)
chainloader (0xff)


if you cant figure out this technique, pls inform me thru email to put more content about this in my blog.

My Email


Saturday, 22 December 2012

RPG Maker VX ACE

Have u ever dream to create your own game. delve into your own fantasy and of course you can play it like a boss? well, EnterBrain, SONY computer entertainment sub company have launched a very powerful tool we called RPG MAKER VX ACE. You heard me right. RPG MAKER.

This RPG Maker doesnt require you to excellent in algorithm and programming language. It is a tools that allow you to create your own fantasy without worrying about codes and structure database of your game. Just let it be and a little tweak here and there, poof, your game have been created in less than what u imagine it would be. 

This new awesome tool can bring back your dying fantasy and giving you hope to see your fantasy materialize. 

in the left is the RPG MAKER VX ACE cover system. 
Just give it a try. i personally like the previous system because im familiar with the development. 


in game menu same like final fantasy 1 & 2. so nostalgic

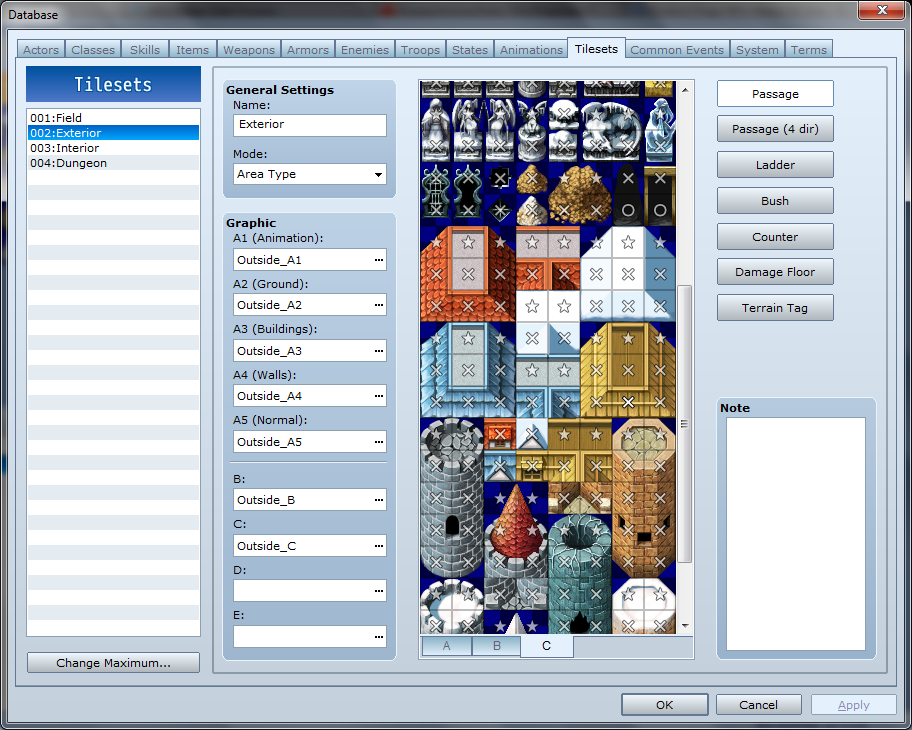
Tileset Editor to let you creating your own game. 

 This is the very simple review about this software. i cant show the detail because im not own yet the software. But if you want to know about the previous system, i will tell you what i do back then. 

any game developer, game lover, and fantasize can use this powerful tools at your disposal. i already used it. definitely worth it. 

i put the list of previous system so that you guys dont confuse. 

  • RPG Maker XP
  • RPG Maker VX
  • IG Maker
  • RPG Maker 2003
these are the list for this software. it goes all ways back,huh. 

You guys can search on how to make game by using this software in www.rpgmakervx.net. All the tutorial and sprite resources are made available there. 

Sunday, 26 August 2012

TV Mobili : Free Media Server For Windows , MAC and Linux

Media Server is the server to broadcast media content like music, movie, picture whether across the internet world wide or just in your local area network.

in old days, we used to built the entire PC including setting the network solution just for home media server let alone the OS itself. but now, with the technology called UPNP (Universal Plug N Play), you can setup media server in a minute.

today, i will instruct you on how you wanna do it.

Hardware Requirement :


  • Cable RJ45 (depend on your network architecture).
  • Router
  • An old Computer that wanna TV Mobili Server.
  • A laptop or computer to test the TVMobili Server.


Software Requirement: 


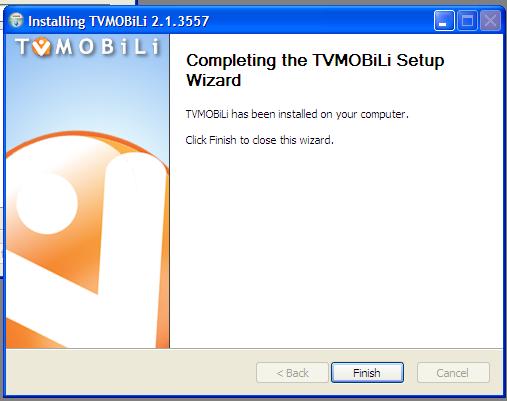
You need to install this software. Below are the instruction phased by phased using images.


After install this software make sure to take note tv mobili url!. This is important because you need to setup its broadcasting content. for example what folder, should or should not been broadcast to the local area network. 

Access to TVMobili

  • Open any browser. etc mozilla, chrome, safari, opera, firefox and ie.
  • Type in tv mobili url.

"In case if you dont find the TVMobili url, here i will provide for you. http://localhost:30888" 

Thats it. You have setup your own free media server based on UPNP network. This is the end of TV Mobili Setup Part. Next, we gonna review what inside the TVMobili Web apps can bring us.

Anyone who dont understand or have  questions please give a comment down below. thank you.

Tuesday, 31 July 2012

Trash Can Invention : JAPAN

world of technologies bring us further a head with machine where the machine can understand human language. But how we design in to be in simplest daily task like Trash Can? How can you toss it like a boss and that trash can moving on its own? here is the video on how they do it. Japan, you have my respect on environmental upgrading..


 i think i wanna do some too. master my engineering course. hehehe

DIY : CCTV For Home (Part ONE)

Getting The Items Ready


Many people thinks that buying CCTV system is expensive and waste for only home environment. it is not true. from what i was thinking is, CCTV system is a must to prevent any crime on your property whether property theft, accident, and etc.

Today, i gonna tell you that under 200 bucks can get u CCTV system to your house. The item that we need is will be put in below list:

1. ANY IP camera. Come in 2 choices whether to used Wifi or Cable.
2. A SERVER. Can used old pc. the one which collecting dust around the corner. Must Have OS at least XP
3. ANY Router. the connection between server and IP camera. need to port forwarding the CCTV port.
4. ANY RJ45 Cable. Connection between Router to SERVER.
5. An Internet Connection. This one is OPTIONAL.

Overview

Camera

For this experiment, i choose Dlink DCS-920 IP Camera for home surveillance system. This camera come in 2 option whether to use Wifi or cable in a box. so its handy when to configure to Server or Router. This camera also have motion detection region or this system called Smart Recording. Smart Recording reduce your hard disk consumption because it only record when there are movements detect on the camera including shadows. To configure this thing is not very hard. Just it need to be configure using Cable first before you can use the Wifi. The pixel of this camera is up to 640 X 480 HQVGA which means the pixel are crystal clear in range 10m ~ 30m.

Router 

Probably you should buy router that come with Wifi Antenna. I said so because we need to design SmartHome Surveillance system. So less cable means more secure. Thief doesn't know where you put your server is, what cable should they cut. The hardest part for none-IT people in this is every router comes with different menu when come to port forwarding. for example, for Dlink DIR-600, the port forwarding fall under Advanced Menu. I personally don't know what other Router port forwarding categories is.

Server

Many people think if wanna server, u need to buy it. Why not you build one? Okay, take old pc that you don't use anymore. Clean it up. After cleaning it, please install at least Windows XP. Then, if you used Dlink IP Camera, they should provide you with CD Installation. Install the CD content and don't forget to configure IP for the camera and server at this server! many people done mistake that he/she thinks the CD is for camera's driver but it is not. The CD is Installation Program For The Server. After installing and configuring it, it become a server. This part is done.

Cable RJ45

Why we used cable? because the connection from pc to router need to be establish using LAN Cable or we called it RJ45. You also can convert the cable by installing the USB Wifi Dongle at server. its the same thing.
Just remember. Only Camera is using Wifi. because we need it to be secure.

Internet Connection

This is an optional where you can view your CCTV Live Streaming from internet to your house. If you want to do it, first you need to sign up at dyndns.com and register your server public IP. Then from there, you will need to setup your server to be able to play live streaming. I will explain in part 2 later.


So guys, are you with me? if you not understand any part of this section, please kindly inform me by leaving your comment or email me..

Part 2 in near future...